Monday, February 20, 2012

It's All in the Details

Progress is coming along nicely. The weather has been cooperating and I've been able to spent a few days out in the garage.

The front valence has been added, as well as headlight buckets. 


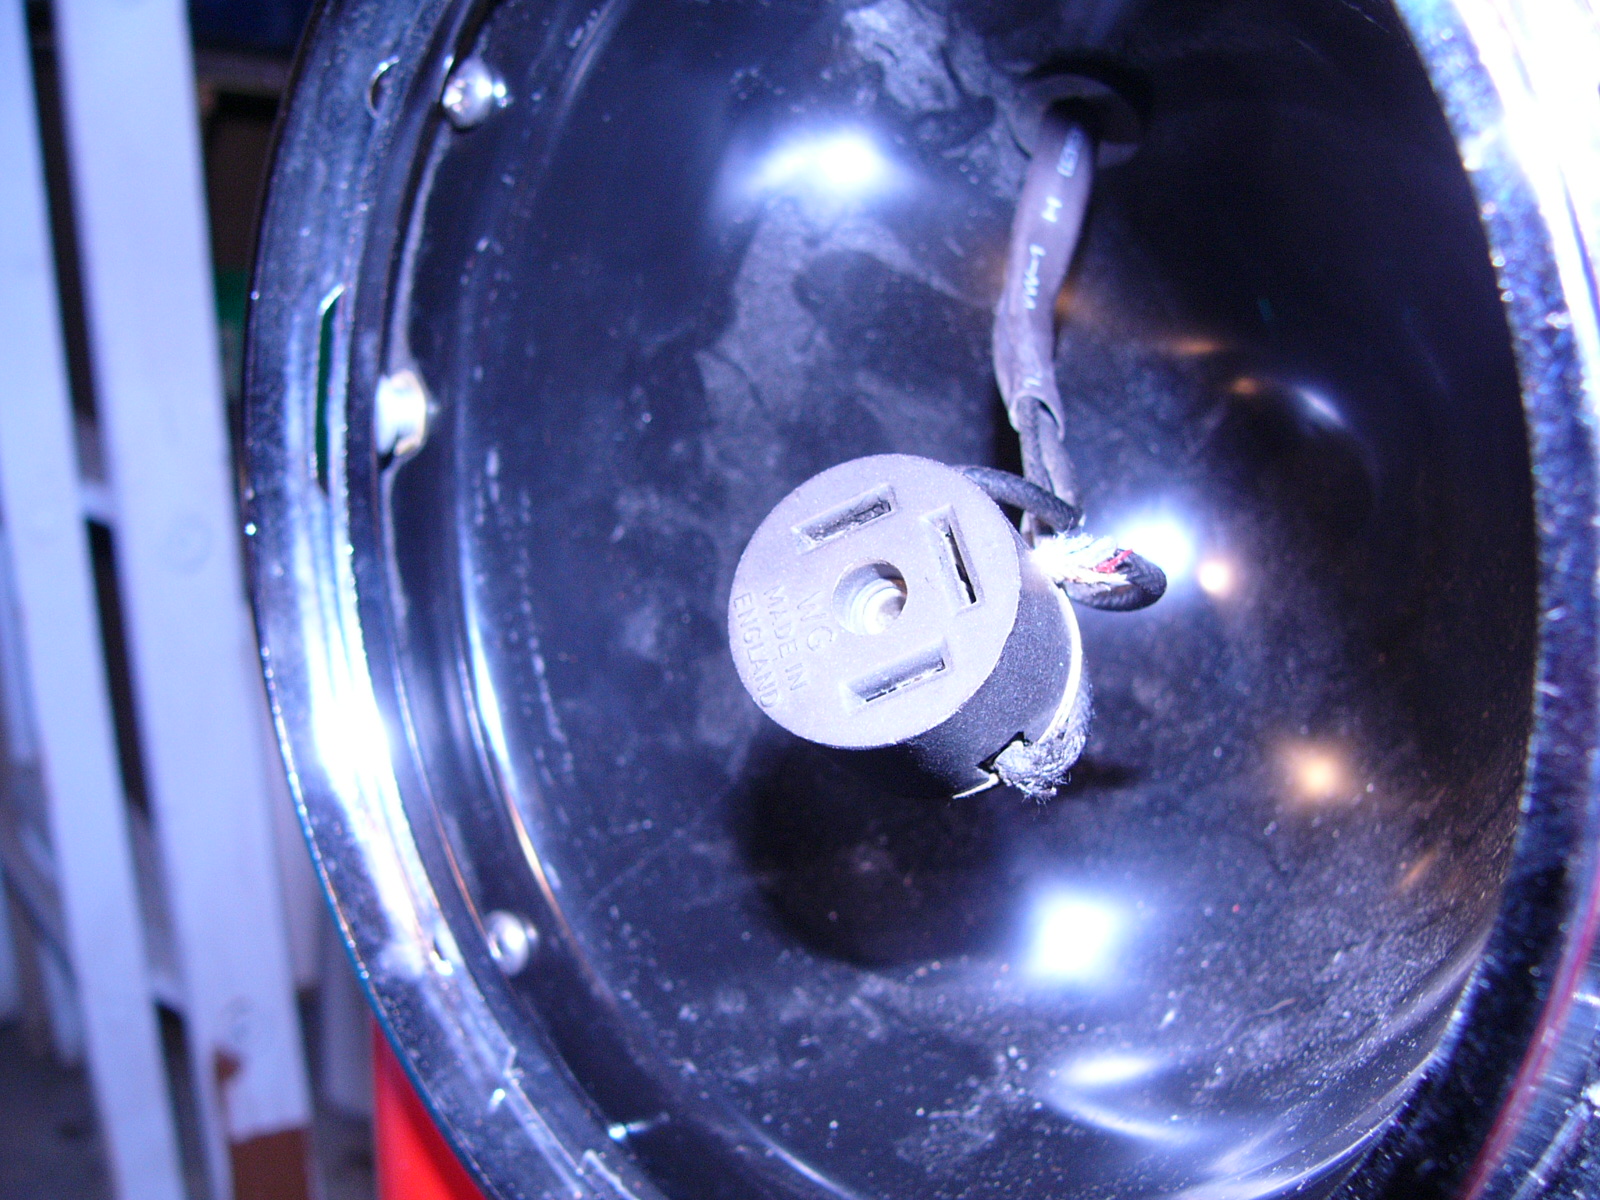
Although I'm using a new wiring harness the original  headlight leads are in good enough shape to reuse. I removed the old cloth cover and replaced it with heat shrink, they should last another 50 years.


The new harness installation is going smoothly, although the bullet connectors are a little tight and require a bit of force to fit together..


I'm maintaining the original wiring with the exception of the 12g yellow wire which will carry any extra amperage from the new alternator directly to the battery.
Mounted on the fire wall from left to right: Voltage Regulator (control box), Fuse Block (2 fuses for the whole car ), Flasher Unit and the silver box is the Turn Signal Relay (unique to the 1500).


The master cylinder and wiper motor (behind)  have been installed.


-The bolt here used to attach the pedal springs is not factory original 
-Throttle pedal stop needs to be installed

Here you can see the splash guards installed using proper rubber seals and "rivets"


Rear bumper was off and on a few times before I figured out the proper assembly order, but in the end all is well. 


Wednesday, February 1, 2012

More Body Fittings

The bonnet lid was attached along with all it's fittings.


Like the factory, the prop rod was left black.  A wooden bracer piece along with a felt backing was installed at the nose to help to stiffen this area. A felt piece was also glued further back which when the hood is down will rest on the radiator, forcing air through the rad instead of around it.


The following two pictures show the bonnet installed but not aligned yet (slightly raised on the drivers side, half way down). The door fit can be viewed here also, although the door bumpers need to be trimmed to allow the door to close all the way.


To align the bonnet, small shims were used so the curve between the body tub and bonnet is consistent. The release latch and wind latch were attached and aligned. 


With the car being back home progress will slow down a bit, although this winter is warm my garage is not heated. Work will be reserved for particularly warm days.

Tuesday, January 31, 2012

Fitting Fenders

I attached a firewall pad on the cabin side. This was originally only installed on the coupe versions but will benefit my roadster as well. Heat and sound will be dampened, plus it gives a finished look to the firewall.


The fenders were hung on the car loosely so the piping could be cut and hung. Silver/Gray piping was standard on all MGAs regardless of body colour, and although other colours are available I've kept with the original look.


The fenders were then tighten up and with a little persuasion they lined up nicely with the body tub. But the DOORS.... This car was manufactured more then 50 years ago, the tolerances, techniques  were not up to today's standards, so getting all body lines to line up to modern standards was a bit tricky. I imagine the workers on the assembly line became quite adapt at the gentle massage techniques required to get these little cars ready for the show room floor.
A lot of time was spent with the doors, gentle manipulating was needed more then once. Patients won out in the end, the body lines and door clearances turned out great and can easy compare to a modern car.


Monday, January 30, 2012

The Big Reunion

The paint turned out very nice and was worth the wait.


Some minor imperfections were polished out and soon the body was ready to be reacquainted  with the chassis.


Sunday, January 29, 2012

Final Stages of Body work

The last couple of months have brought many changes to the car. Final stages of block sanding have shown that alll the hard work has paid off. The body panels look straight and the fit of the doors appear to be right on.


Primer coat revealed no surprises


The underside if the body tub, fenders, hood and trunk lid were painted using single stage paint. The factory used nitrocelulos paint, which is unavailable today. The colour is original to MGAs... after a very long struggle with colour choice, I've decided  on MGA 1600 red Chariot Red which is a little "redder" then the MGA 1500 oriental red. The outer panels will be painted with a modern Base Clear, this will help keep the red from fading as well as be a little more durable.


Tuesday, March 1, 2011

Bodywork

A little more progress on the bodywork, although painfully slow. After completing the major bodywork, the body needed to be media blasted a final time before epoxy primer could be applied.

After the final blasting the metal needed prepping for paint:
...Finally the epoxy primer was applied.


The aluminum pieces needed to be primed using self-etching primer


Now on to the next stage; applying filler and smoothing out all surfaces. Although filler has been kept to a minimum, this final process will be time consuming. The first step will be to place all the pieces back on the body tub and lining them up in their final placement. A small amount of dolly work will probably still be done but the majority will be filling/sanding, filling/sanding, filling/sanding .........


Monday, August 30, 2010

It's ALIVE!

 .
After getting the radiator back (which turned out great), and installing it along with a proper thermostat housing, all systems were go for the initial start up.
Turning over the engine with the new starter motor for 30 or 40 seconds produced a good oil pressure...it was time for the real thing. Connecting the ignition and fuel pump to the battery, the fuel pump began ticking away until the float bowls filled. I held the choke with one hand and pulled the starter with the other. After a couple of revolutions the engine roared to life. Yahoo! No clunks or weird noises just a little water leak from the heater valve gasket. Wow a 50-year old engine roaring back to life...a great feeling!

Surprisingly the fiberglass exhaust wrap smoked quite a bit, but the only real problem was the idle. I couldn't get the idle below 2500rpm and after a couple of minutes I shut the engine off. Although the fast idle didn't wipe the smile off my face, I did want to get the problem solved before continuing with initial break-in.

Considering I rebuilt the carbs. myself I figured the problem lay with them. Checking the internet for possible causing of fast idle and S.U. carbs., the solution seemed to be with the throttle discs. The throttle discs need to be fully closed when at rest. The discs themselves are even beveled slightly so the disc can seal better in the venturi . I checked my discs and found them both open slightly and one disc was installed with the bevel the wrong way. I had drilled the holes in the new throttle shafts (for the idle stops) slightly off where they should have been. I filled in the holes with easy weld and redrilled the holes in the proper position. Now, holding the venturi up to the light with the disc closed showed them both fully closed. I reinstalled the carbs. and double checked to be sure the jets were centered, nice solid clunk when the damper piston is released.

The next day I tried again. The engine started right up and idled down to 1200 with the choke on, good. Now just wait till it gets to operating temperature and set the idle and timing. After a couple of minutes all is well the engine is running fine, with good oil pressure and the temp is rising slowly. Then, the engine dies, turns over but won't start. After checking all electrical connections I check the float bowls and they are dry. Then I realize there is no noise from the fuel pump. The fuel pump has died... after 10minute a newly rebuilt fuel pump is done...$#%@!

Oh well I guess better now then literally down the road.

I sent an email off to the fuel pump re builder guy and he says he'll make it right, so off to the post office I go.

Although I didn't get a chance to set up the engine , I am happy with the initial engine start. One major step closer to getting back on the road.


Here's a video after getting the fuel pump and Carbs worked out: