Monday, April 2, 2012

Windshield

The original MGA windshield frames are chrome over solid brass.  Some owners have opted to cut the frame down to gain some aerodynamic efficiency, or perhaps for the cool factor. I do like the look of the half windshield but it really limits the days for driving.
 My frame is showing its age but after a couple of hours of cleaning & polishing, although it still has a patina, its ready to be reassembled. The posts were not in as good of shape. One post had the chrome pealing so I had both of them re-chromed. New sundry pieces and rubber bits for the frame were purchased from Clarke Spares, who specializes in all the hard to find bits and pieces for MGAs. New triplex XXX glass was purchased and the assembly began.

I followed the method laid out by the MGA Guru : Roadster Windshield Installation
The process is a struggle, but doable.


 It is no surprise that the Auster and Triplex names appear together on the windshield. With a little digging I I found that they were part of the same company. Auster / Triplex 


Friday, March 23, 2012

Seats

Remember this pile of rust?


The seat frames, although rusted, bent and broken were actually in decent shape. After a bit of welding to repair the attachment points and straightening the back braces where someone had jumped? on them, they were ready for blasting and paint.


On the MGA roadster the seat backs are "sided", the curve at the top matches the curve of the body., the low side to the outside of the car.


The 3/8" plywood on the old cushion bases were broken and unusable, except as a template for new ones.These are also sided, mirrors of each other.


The small tabs on the bottom of the bases hold them in place against lateral movement, so they need to be hard wood.


I took the opportunity to reuse the risers from the original seats, they are still in great shape.


 The mesh baskets were also reusable. After a bit of wire brushing and painting they were ready for final assembly..


The original MGAs had a choice of interior material  of either the standard Vynide "leather" cloth or optional real leather (leather on wearing parts). Colour was also a choice although limited depending on body colour. The 1500 choices were grey, black, red, or green, The 1600 replaced grey and green with beige and tan. The Black seats also had the choice of different colour piping, red, grey, green, white and blue.


My interior material was purchased from a trimmer in England and is ALL leather including the rail caps. All the panel pieces come assembled using new panel material.
The seat covers are presewn ready to be mounted on the frames and stapled in position, and like the original cars they have the different colour piping.


The new backing material was temperately taped in place for a few weeks to form the proper shape.New wood tacking stripes were also attached.


The backing was then cut to fit and taped permanently into place


Horsehair pad was glued in place


Then more padding is trimmed and glued into place.


OPPS! this padding should go on the back of the seat, after a small struggle I got it straightened out.
...Finally a bit of cotton batting is laid on the top of the seat and the seat cover is pulled on and stapled into position.

The bottom sections were slightly easier, but it's crucial that the seams line up on the seat backs and seat bottoms. The bottoms were assembled last since it's easier to adjust the bottoms to match the backs.
Here the foam is marked before being glued into place


Then it's just a matter of test fitting the bottom and comparing with the back for the proper alignment and stapling into place.


Here you can see the profile of the seat back, showing that it's a right hand seat.The seat adjuster lever can also be seen, these should go on the "door" side of each seat.


Monday, February 20, 2012

It's All in the Details

Progress is coming along nicely. The weather has been cooperating and I've been able to spent a few days out in the garage.

The front valence has been added, as well as headlight buckets. 


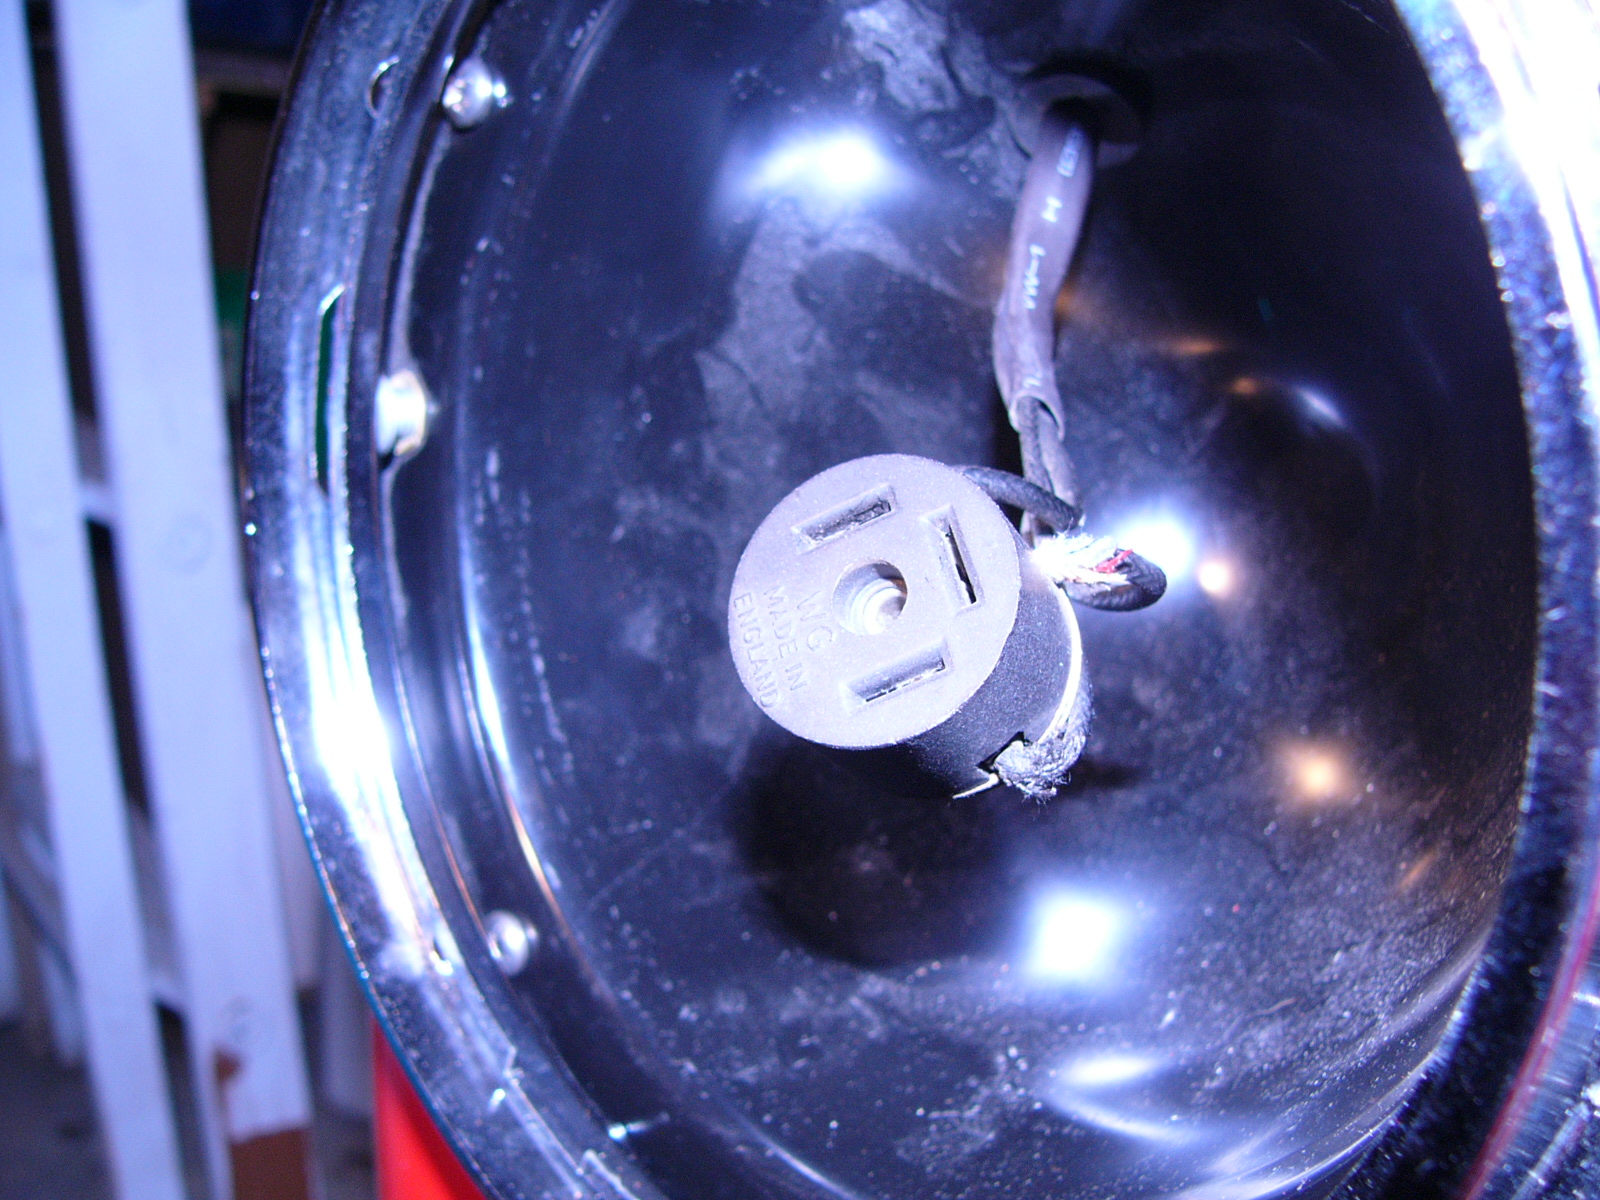
Although I'm using a new wiring harness the original  headlight leads are in good enough shape to reuse. I removed the old cloth cover and replaced it with heat shrink, they should last another 50 years.


The new harness installation is going smoothly, although the bullet connectors are a little tight and require a bit of force to fit together..


I'm maintaining the original wiring with the exception of the 12g yellow wire which will carry any extra amperage from the new alternator directly to the battery.
Mounted on the fire wall from left to right: Voltage Regulator (control box), Fuse Block (2 fuses for the whole car ), Flasher Unit and the silver box is the Turn Signal Relay (unique to the 1500).


The master cylinder and wiper motor (behind)  have been installed.


-The bolt here used to attach the pedal springs is not factory original 
-Throttle pedal stop needs to be installed

Here you can see the splash guards installed using proper rubber seals and "rivets"


Rear bumper was off and on a few times before I figured out the proper assembly order, but in the end all is well. 


Wednesday, February 1, 2012

More Body Fittings

The bonnet lid was attached along with all it's fittings.


Like the factory, the prop rod was left black.  A wooden bracer piece along with a felt backing was installed at the nose to help to stiffen this area. A felt piece was also glued further back which when the hood is down will rest on the radiator, forcing air through the rad instead of around it.


The following two pictures show the bonnet installed but not aligned yet (slightly raised on the drivers side, half way down). The door fit can be viewed here also, although the door bumpers need to be trimmed to allow the door to close all the way.


To align the bonnet, small shims were used so the curve between the body tub and bonnet is consistent. The release latch and wind latch were attached and aligned. 


With the car being back home progress will slow down a bit, although this winter is warm my garage is not heated. Work will be reserved for particularly warm days.

Tuesday, January 31, 2012

Fitting Fenders

I attached a firewall pad on the cabin side. This was originally only installed on the coupe versions but will benefit my roadster as well. Heat and sound will be dampened, plus it gives a finished look to the firewall.


The fenders were hung on the car loosely so the piping could be cut and hung. Silver/Gray piping was standard on all MGAs regardless of body colour, and although other colours are available I've kept with the original look.


The fenders were then tighten up and with a little persuasion they lined up nicely with the body tub. But the DOORS.... This car was manufactured more then 50 years ago, the tolerances, techniques  were not up to today's standards, so getting all body lines to line up to modern standards was a bit tricky. I imagine the workers on the assembly line became quite adapt at the gentle massage techniques required to get these little cars ready for the show room floor.
A lot of time was spent with the doors, gentle manipulating was needed more then once. Patients won out in the end, the body lines and door clearances turned out great and can easy compare to a modern car.


Monday, January 30, 2012

The Big Reunion

The paint turned out very nice and was worth the wait.


Some minor imperfections were polished out and soon the body was ready to be reacquainted  with the chassis.